If you are just starting out and want to learn graphic design, then these free resources will help you get started. It is good to start with free resources and save money, and then move onto more premium and paid tools once you have learned how to use the different graphic design programs.
1. For Photographs
Unsplash – This is the resource I probably use the most even today. And it is completely free to use. It is a stock website, with great looking photographs. And you can use any of the images for pretty much anything you want. To create blog post images, to create product preview images, for social media posts. The only thing you cannot do is sell them, or include them inside products you sell (but you can create a list of links to different images on Unsplash for buyers to use).
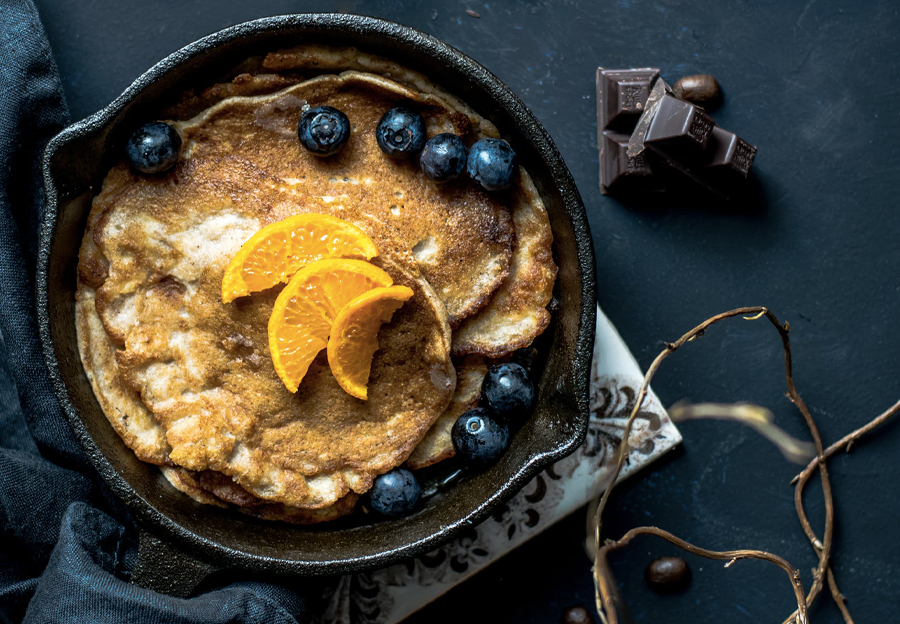

Examples of photos on Unsplash that are free to use
2. For Fonts
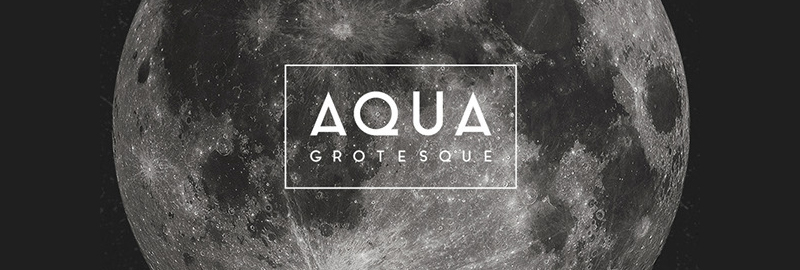
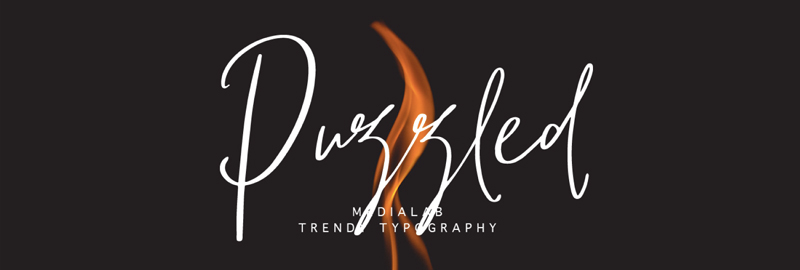
Behance: So you have Unsplash for photographs, and now when it comes to fonts – I would check out Behance. Behance is a portfolio website for designers, and a lot of designers have free fonts that you can use. Use the search in Behance to look for “Free Fonts”. You do have to look to see if they are free to use for both personal and commercial. Some let you use them for personal work, but then require you to pay for commercial use.
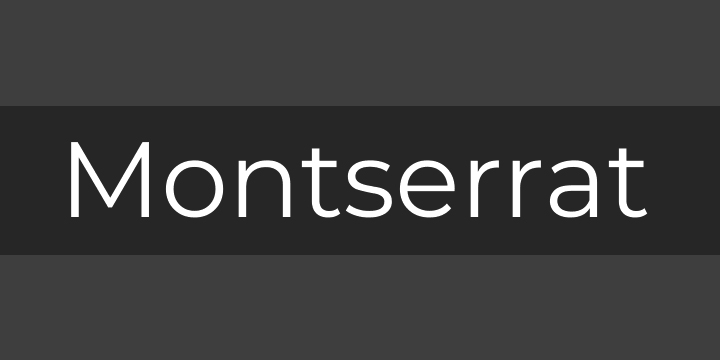
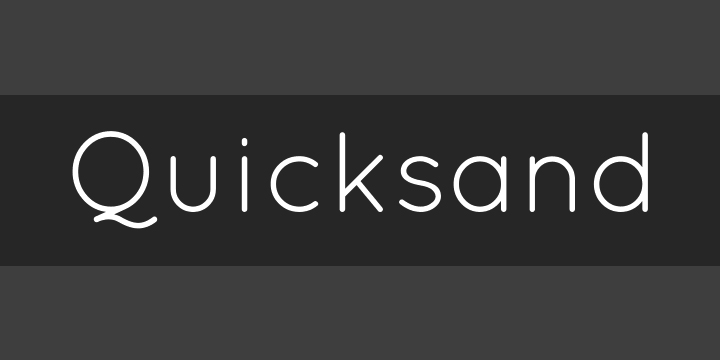
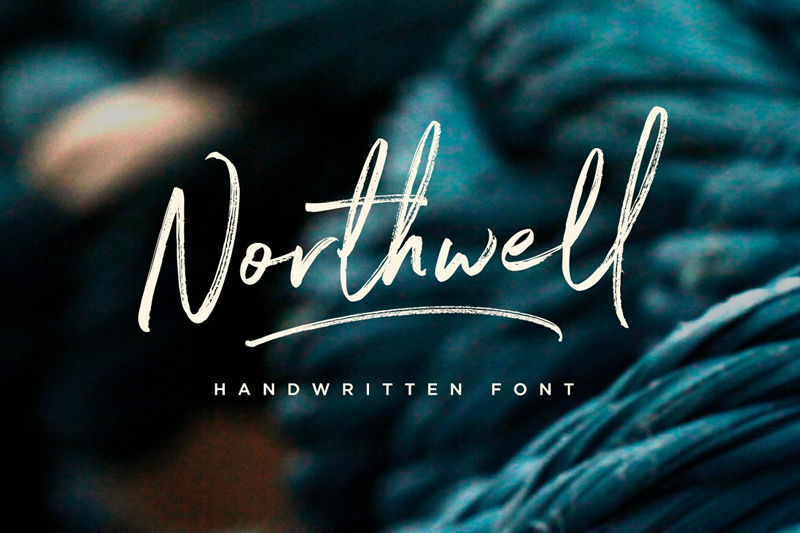
Here are some great fonts to get started that are free for both personal and commercial usage:
–
–
Font Squirrel: This is where I would go to a lot when I started doing graphic design. This website has a lot of fonts for free commercial use. Not all are the best looking – but it is a good place to get started.
Here are a few that I have used often:
–
–
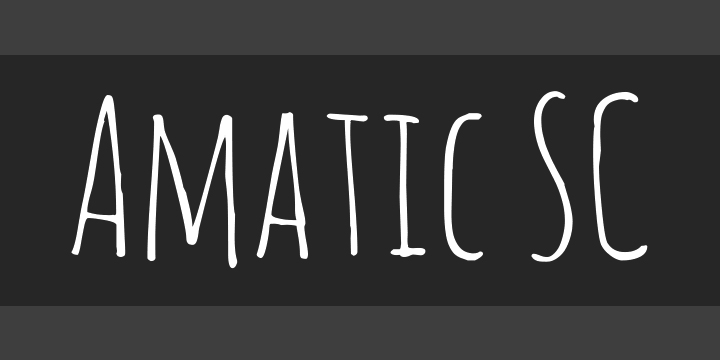
–
Creative Market: If a friend were to ask me what would be the best way to learn how to use fonts, I would say go to Creative Market and buy logo template packs. Yes, you do have to buy the logo packs (which includes graphics – for $16-25++), but 95% of these packs use free to use fonts for the logo designs (read the product descriptions). And the (great) designers have paired them with other free fonts – creating a well designed layout.
So not only do you get a list of great looking free fonts, but you will know what fonts pair well together.
Here are some examples:
My own Hand Drawn Logo Templates
![]()
–
![]()
–
3. For Graphics (Icons, Mockups, Backgrounds, etc)
Graphic Burger: This website has a lot of free graphics for commercial use. They have icons, and backgrounds. But what I use to go there for, were for their mockups.
For example, you designed a graphic and want to have a photo with your graphic on a t-shirt – then Graphic Burger has a number of t-shirt mockups that are free to download.
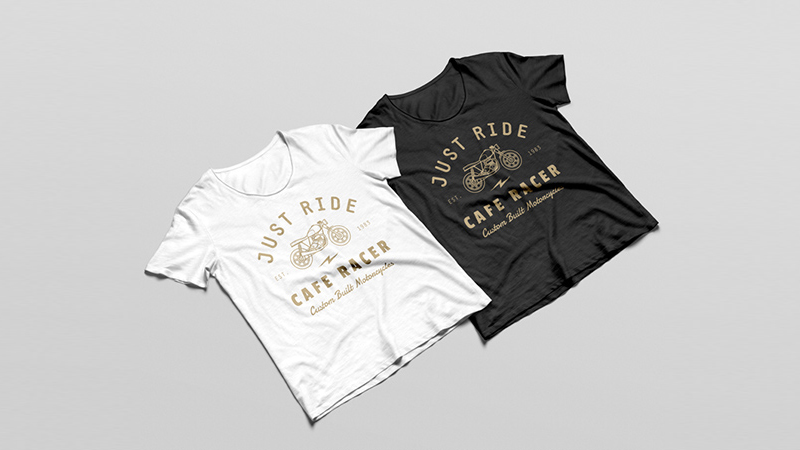
–
You can find all sorts of other mockups from business cards, bottles, to yoga pants and iPhones.
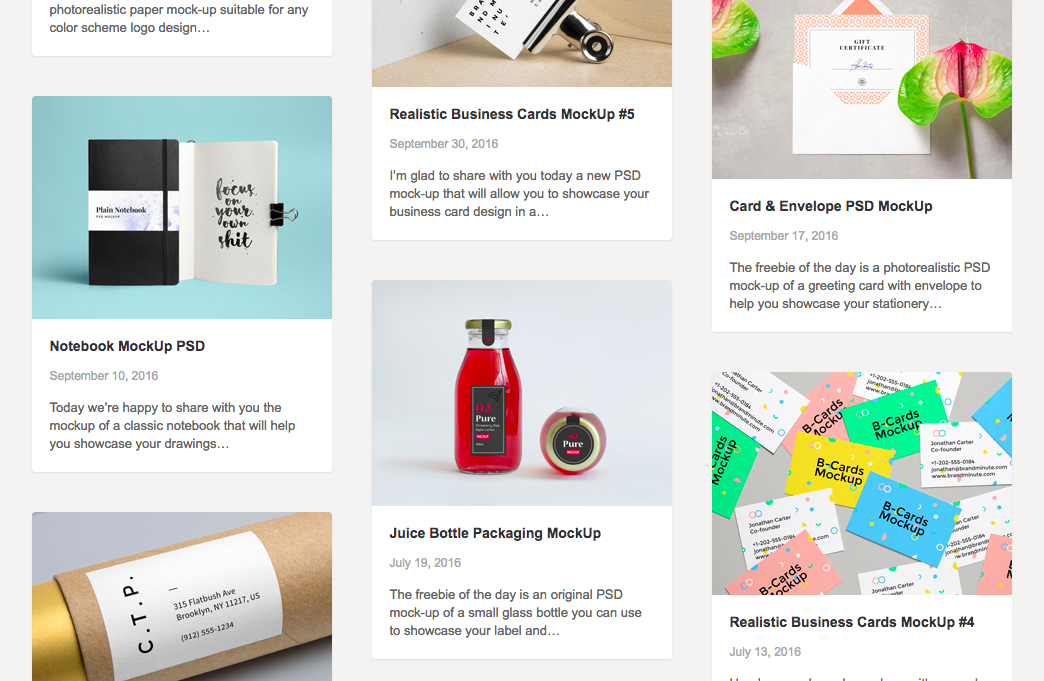
–
Creative Market Free Goods: If you create a free account with Creative Market, you are able to download their free weekly goods. Each week they have 6 different free to download products that you can use.
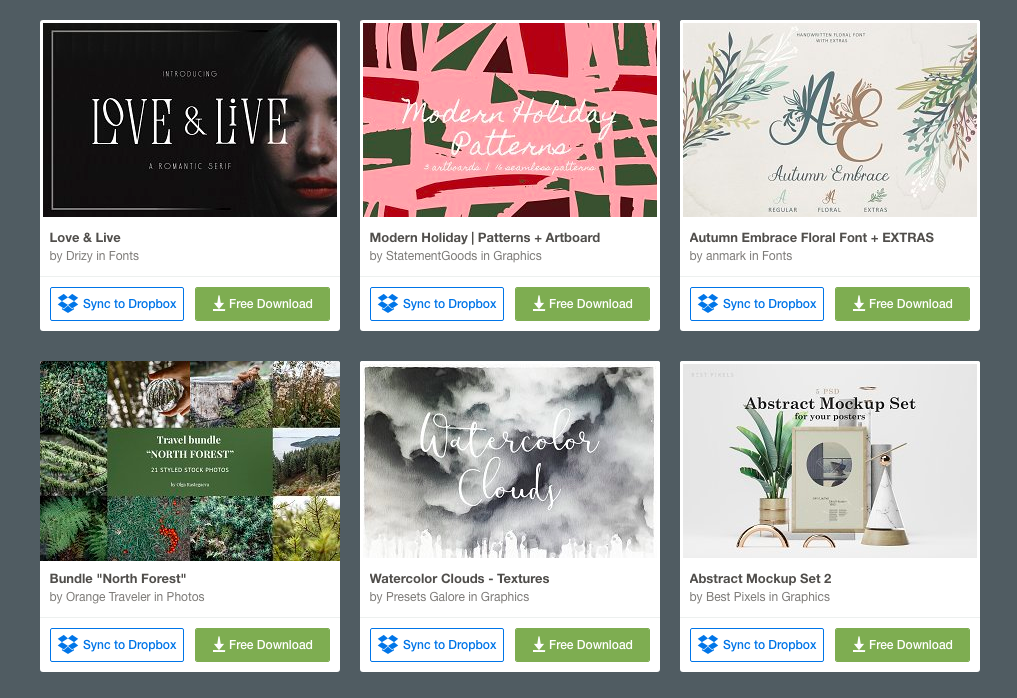
–
Taking the Next Step
Once you have practiced and created graphics with the free resources, the next step is to upgrade to paid tools/resources. Because the paid ones let you do more, and tend to be better designed.
The good news is that today there are so many designers creating graphics and resources that are for sale. This means that it is cheaper than ever to buy them. Before, the only fonts that were available would cost $200-300++. Today you can get world class fonts for $17-$22.
And Creative Market is really the only place I go today to get any fonts, illustrations, or mockups that I need.
Here are some paid fonts that I use all of the time:
Santorini Signature Font ($17)
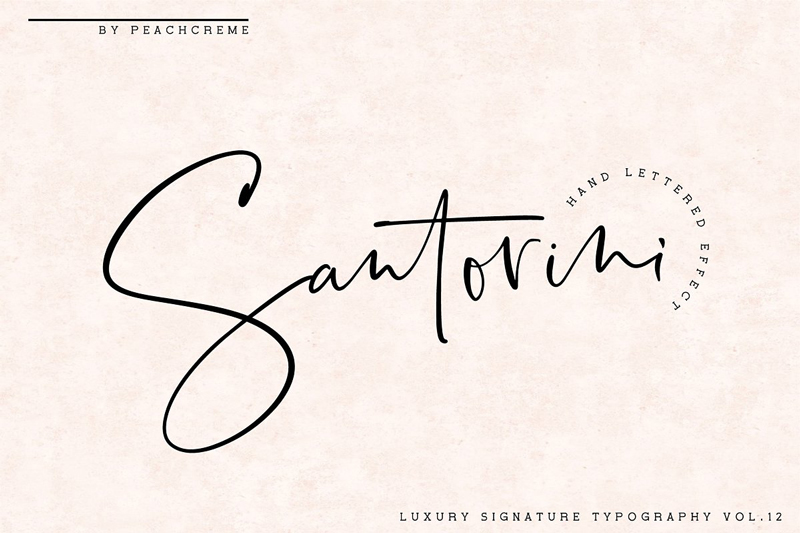
–
–
Poppit Finch Hand Drawn Font ($18)
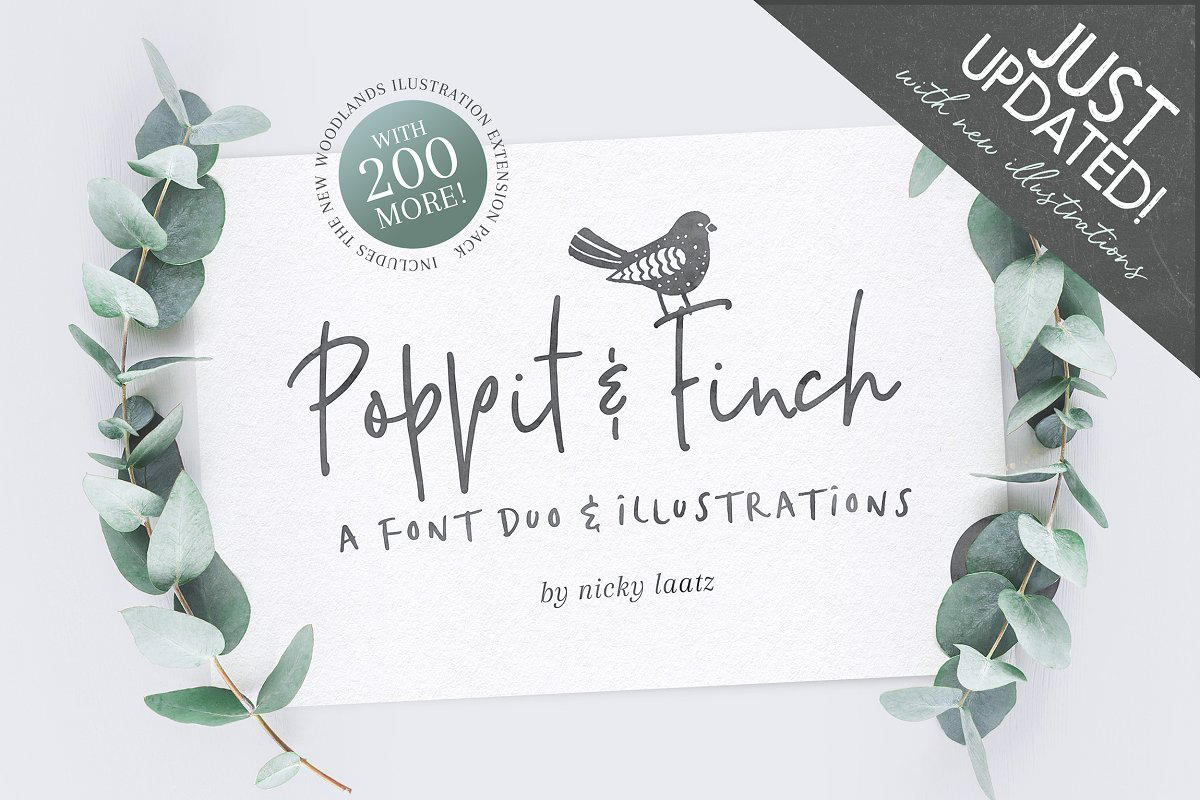
–
Recommended Reading:
- How To Learn Graphic Design – The First 3 Things To Learn for Beginners
- What Makes A Good Logo Design